Find Your Local Stockist
Become A Stockist
Search products
Search
Account
Home
About Us
Paving
Porcelain Paving
Essential Range
Décor Range
Pura Porcelain
Jewell Porcelain
Exquisite Porcelain
Stone Rock Porcelain
Sandstone Porcelain
Quarzo Porcelain
Rustic Porcelain
Wood Porcelain
Elements Porcelain
Dinamika Outdoor Edition
Dinamika Outdoor Wood Edition
Natural Stone Paving
Sandstone Premium
Fusion Premium Sandstone Paving
Gardenstone Paving
Sandstone Aged
Brazilian Slate
Limestone Classic
Granite Setts
Sandstone Aged Old Tumbled Setts
Aged Grande Cobbles
Premium Sandstone Circles
Forest Glen
Fossil Mint
Mountain Mist
Sunrise
Sunset
Twilight
Natural Stone Cladding
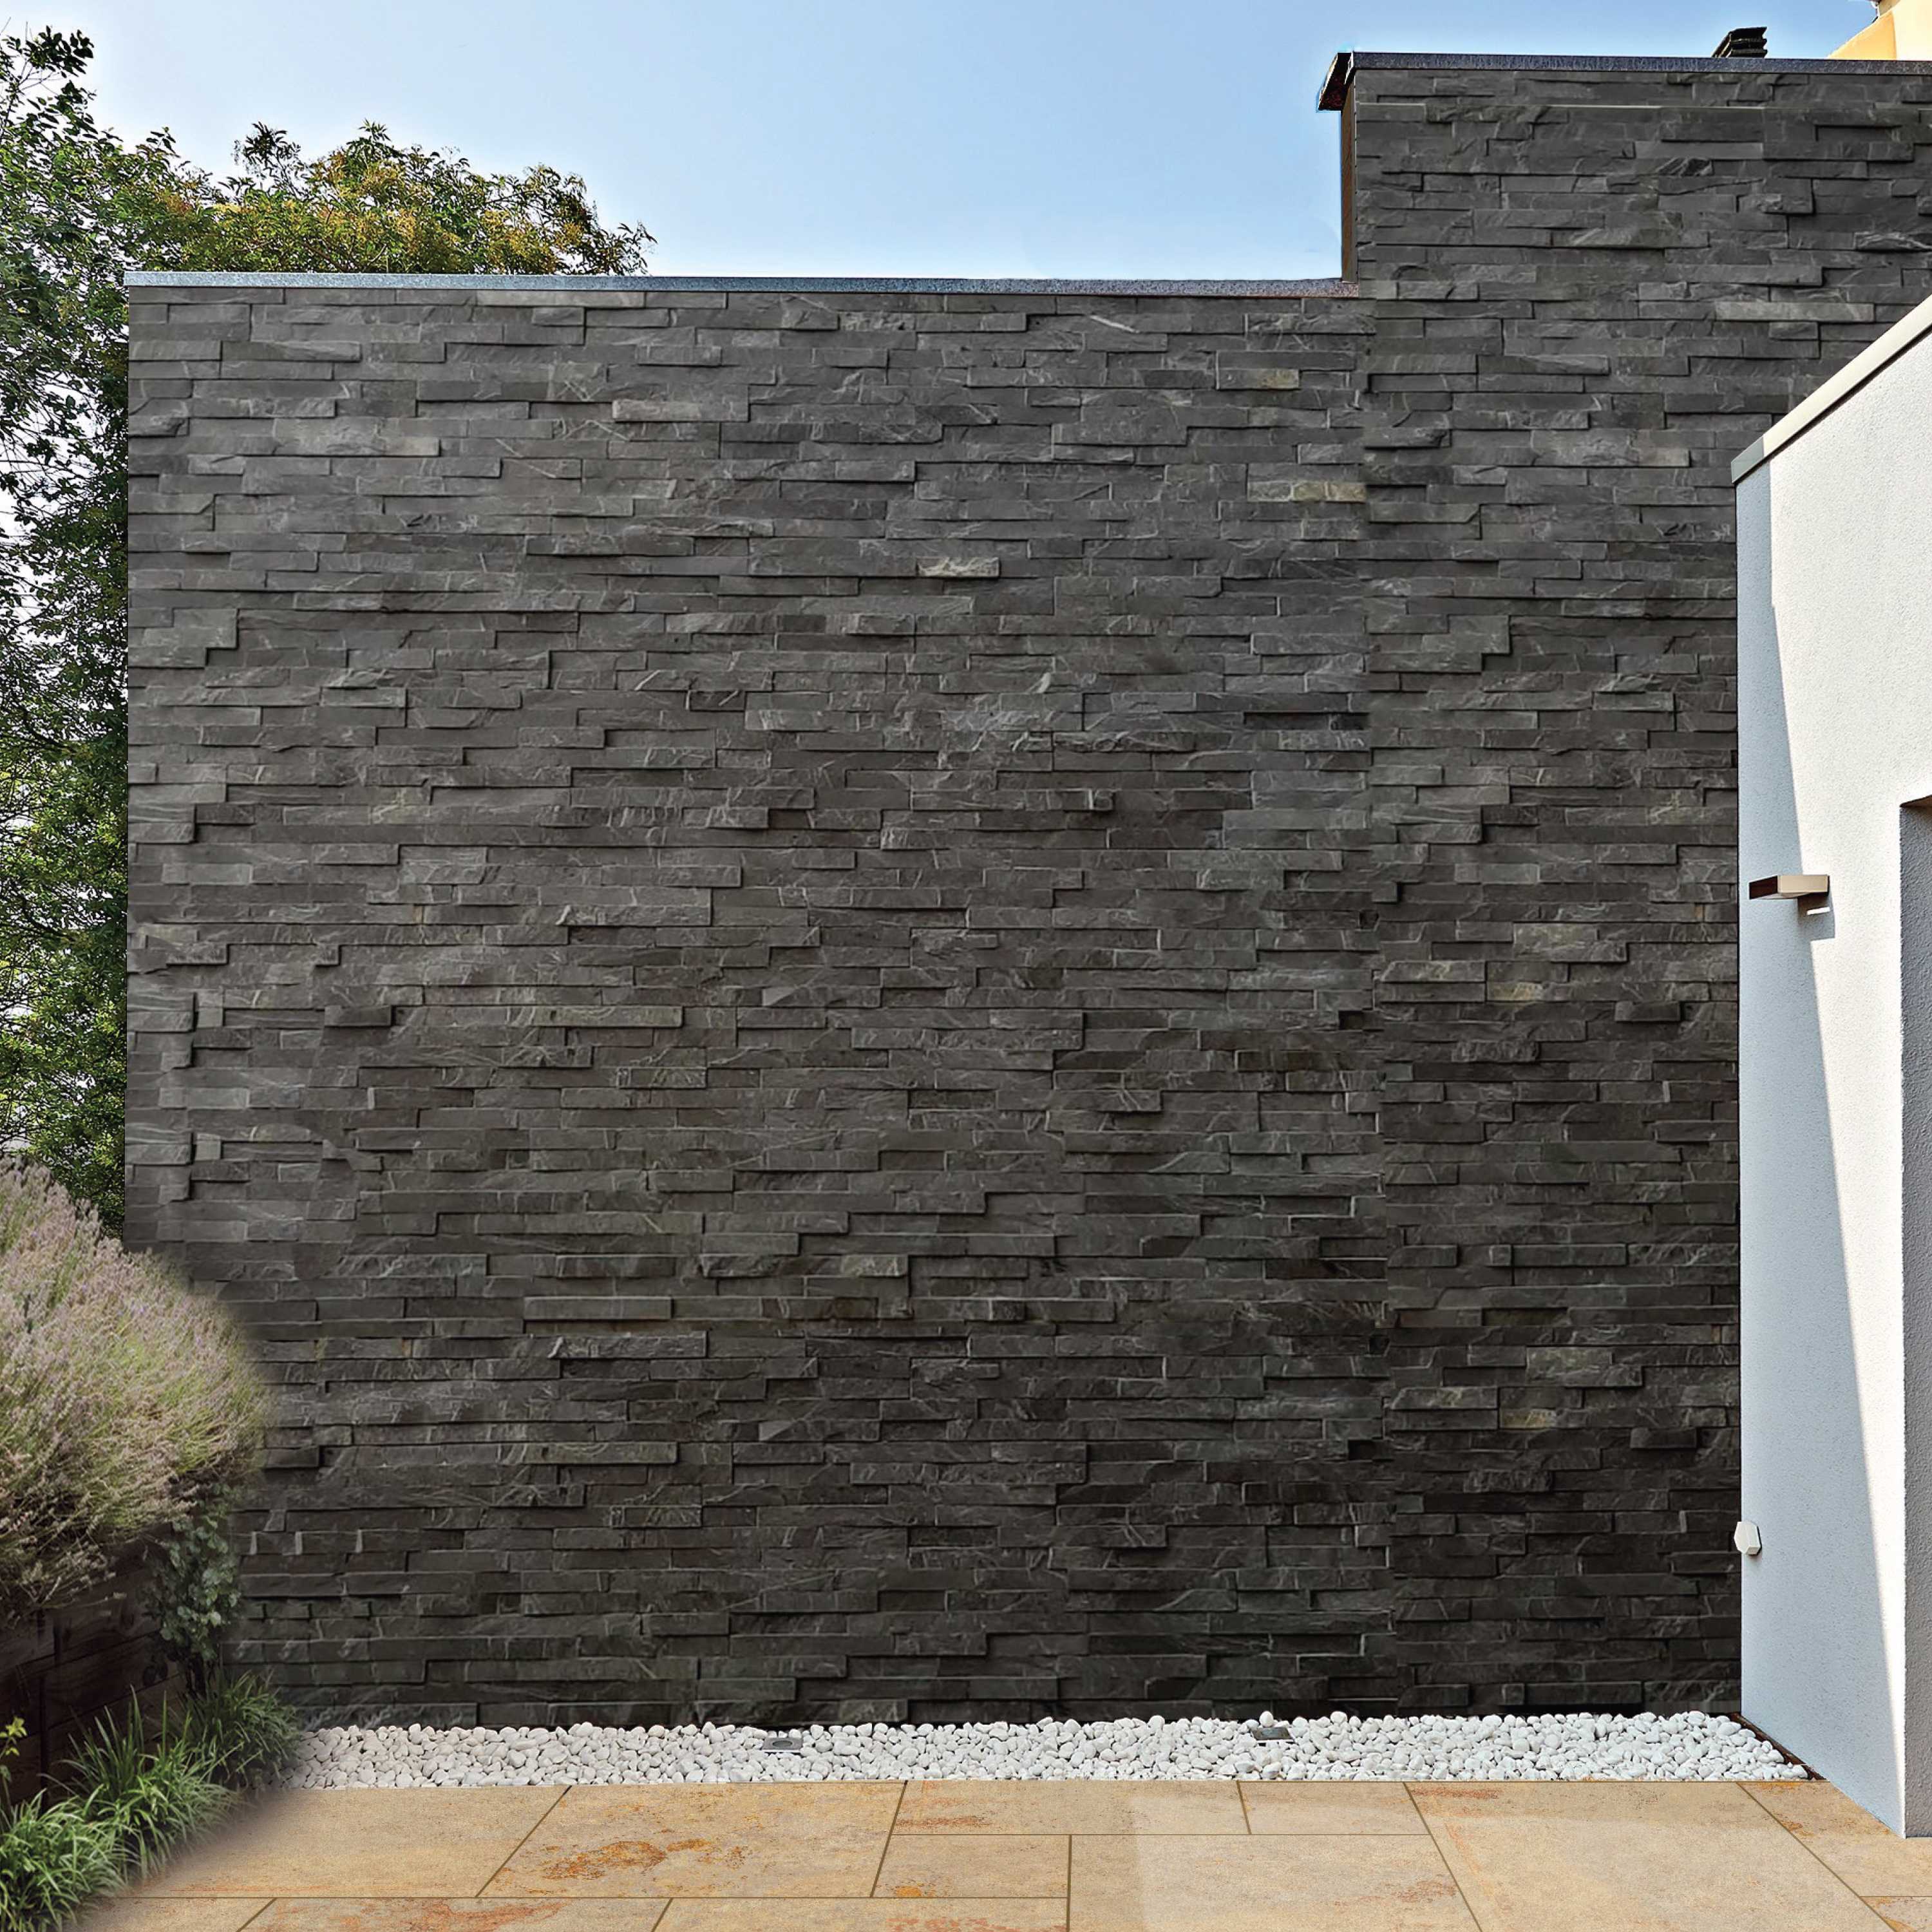
Our Natural Stone Cladding is a bold solution for covering unsightly walls and giving a distinctive look to your outdoor environment.
Cladding & Walling
Porcelain
Natura Cladding
Natural Stone
Natural Wall Cladding
Natural Stone Walling
Natural Stone Cladding
Our Natural Stone Cladding is a bold solution for covering unsightly walls and giving a distinctive look to your outdoor environment.
Finishing Touches
Installation Range
Ultimate Paving Joint Range
Ultimate Stainless Steel Trim Range
Natural Stone Finishing Accessories
Sandstone Steps & Copings
Porcelain Finishing Accessories
Natura Cladding
Porcelain Accessories
Natural Stone Cladding
Our Natural Stone Cladding is a bold solution for covering unsightly walls and giving a distinctive look to your outdoor environment.
Decking
Blog & News
Contact Us
Home
About Us
Paving
Back
Porcelain Paving
Back
Essential Range
Décor Range
Pura Porcelain
Jewell Porcelain
Exquisite Porcelain
Stone Rock Porcelain
Sandstone Porcelain
Quarzo Porcelain
Rustic Porcelain
Wood Porcelain
Elements Porcelain
Dinamika Outdoor Edition
Dinamika Outdoor Wood Edition
Natural Stone Paving
Back
Sandstone Premium
Fusion Premium Sandstone Paving
Gardenstone Paving
Sandstone Aged
Brazilian Slate
Limestone Classic
Granite Setts
Sandstone Aged Old Tumbled Setts
Aged Grande Cobbles
Premium Sandstone Circles
Back
Forest Glen
Fossil Mint
Mountain Mist
Sunrise
Sunset
Twilight
Cladding & Walling
Back
Porcelain
Back
Natura Cladding
Natural Stone
Back
Natural Wall Cladding
Natural Stone Walling
Finishing Touches
Back
Installation Range
Back
Ultimate Paving Joint Range
Ultimate Stainless Steel Trim Range
Natural Stone Finishing Accessories
Back
Sandstone Steps & Copings
Porcelain Finishing Accessories
Back
Natura Cladding
Porcelain Accessories
Decking
Blog & News
Contact Us
My Account
Log in
Register
Log in
Reset your password
Register
Forgot your password?
Sign In
We will send you an email to reset your password.
Submit
Cancel
Sign up for early Sale access plus tailored new arrivals, trends and promotions. To opt out, click unsubscribe in our emails.
Register
Log In
Search our store
Account
Popular Searches:
Natural Stones
Cladding & Walling
Circle
"
"
More Results
Zoom in
Zoom in
Grey Plain
Edge Finish:
Rectified
Rectified
Thickness:
20 mm
20 mm
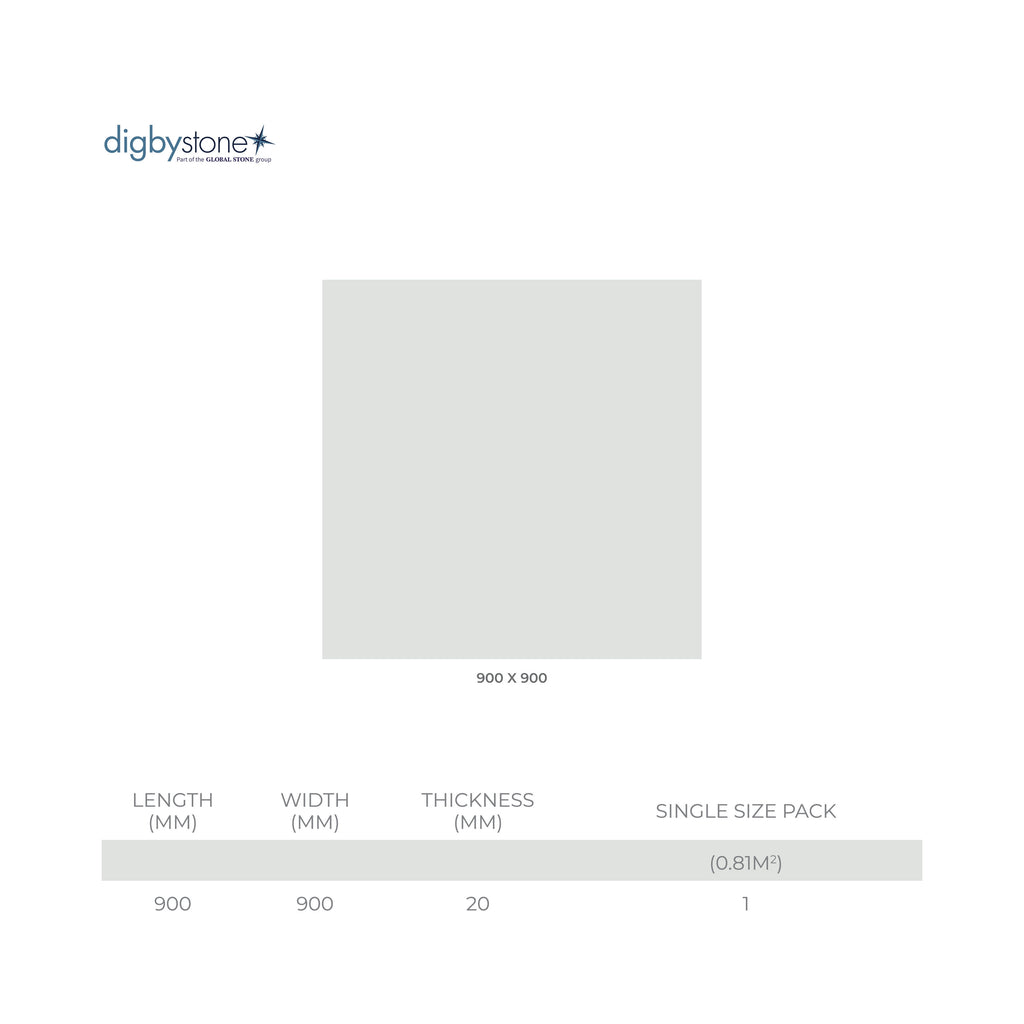
Size:
Single Piece Pack ("900 x 900mm")
Size guide
Single Piece Pack ("900 x 900mm")
Request A Sample
Size Guide
Share
Copy link
Share:
*Note : All sizes shown are Nominal
Product Information
For those who like the dramatic large scale tiles of the Trentino range, but prefer something a little more muted for the pattern, we also offer these tiles in a plain option. The same beautiful deep grey base colour, only without the pattern.
CE Markings
Declaration of Production
Request A Sample
* Required fields
Submit Now
Grey Plain
£1,999.00
£2,000.00
Unit price
/
per
Rectified / 20 mm / Single Piece Pack ("900 x 900mm") - £1,999.00
Rectified / 20 mm / Single Piece Pack ("900 x 900mm")
Add to cart
Compare
Recently Viewed Products