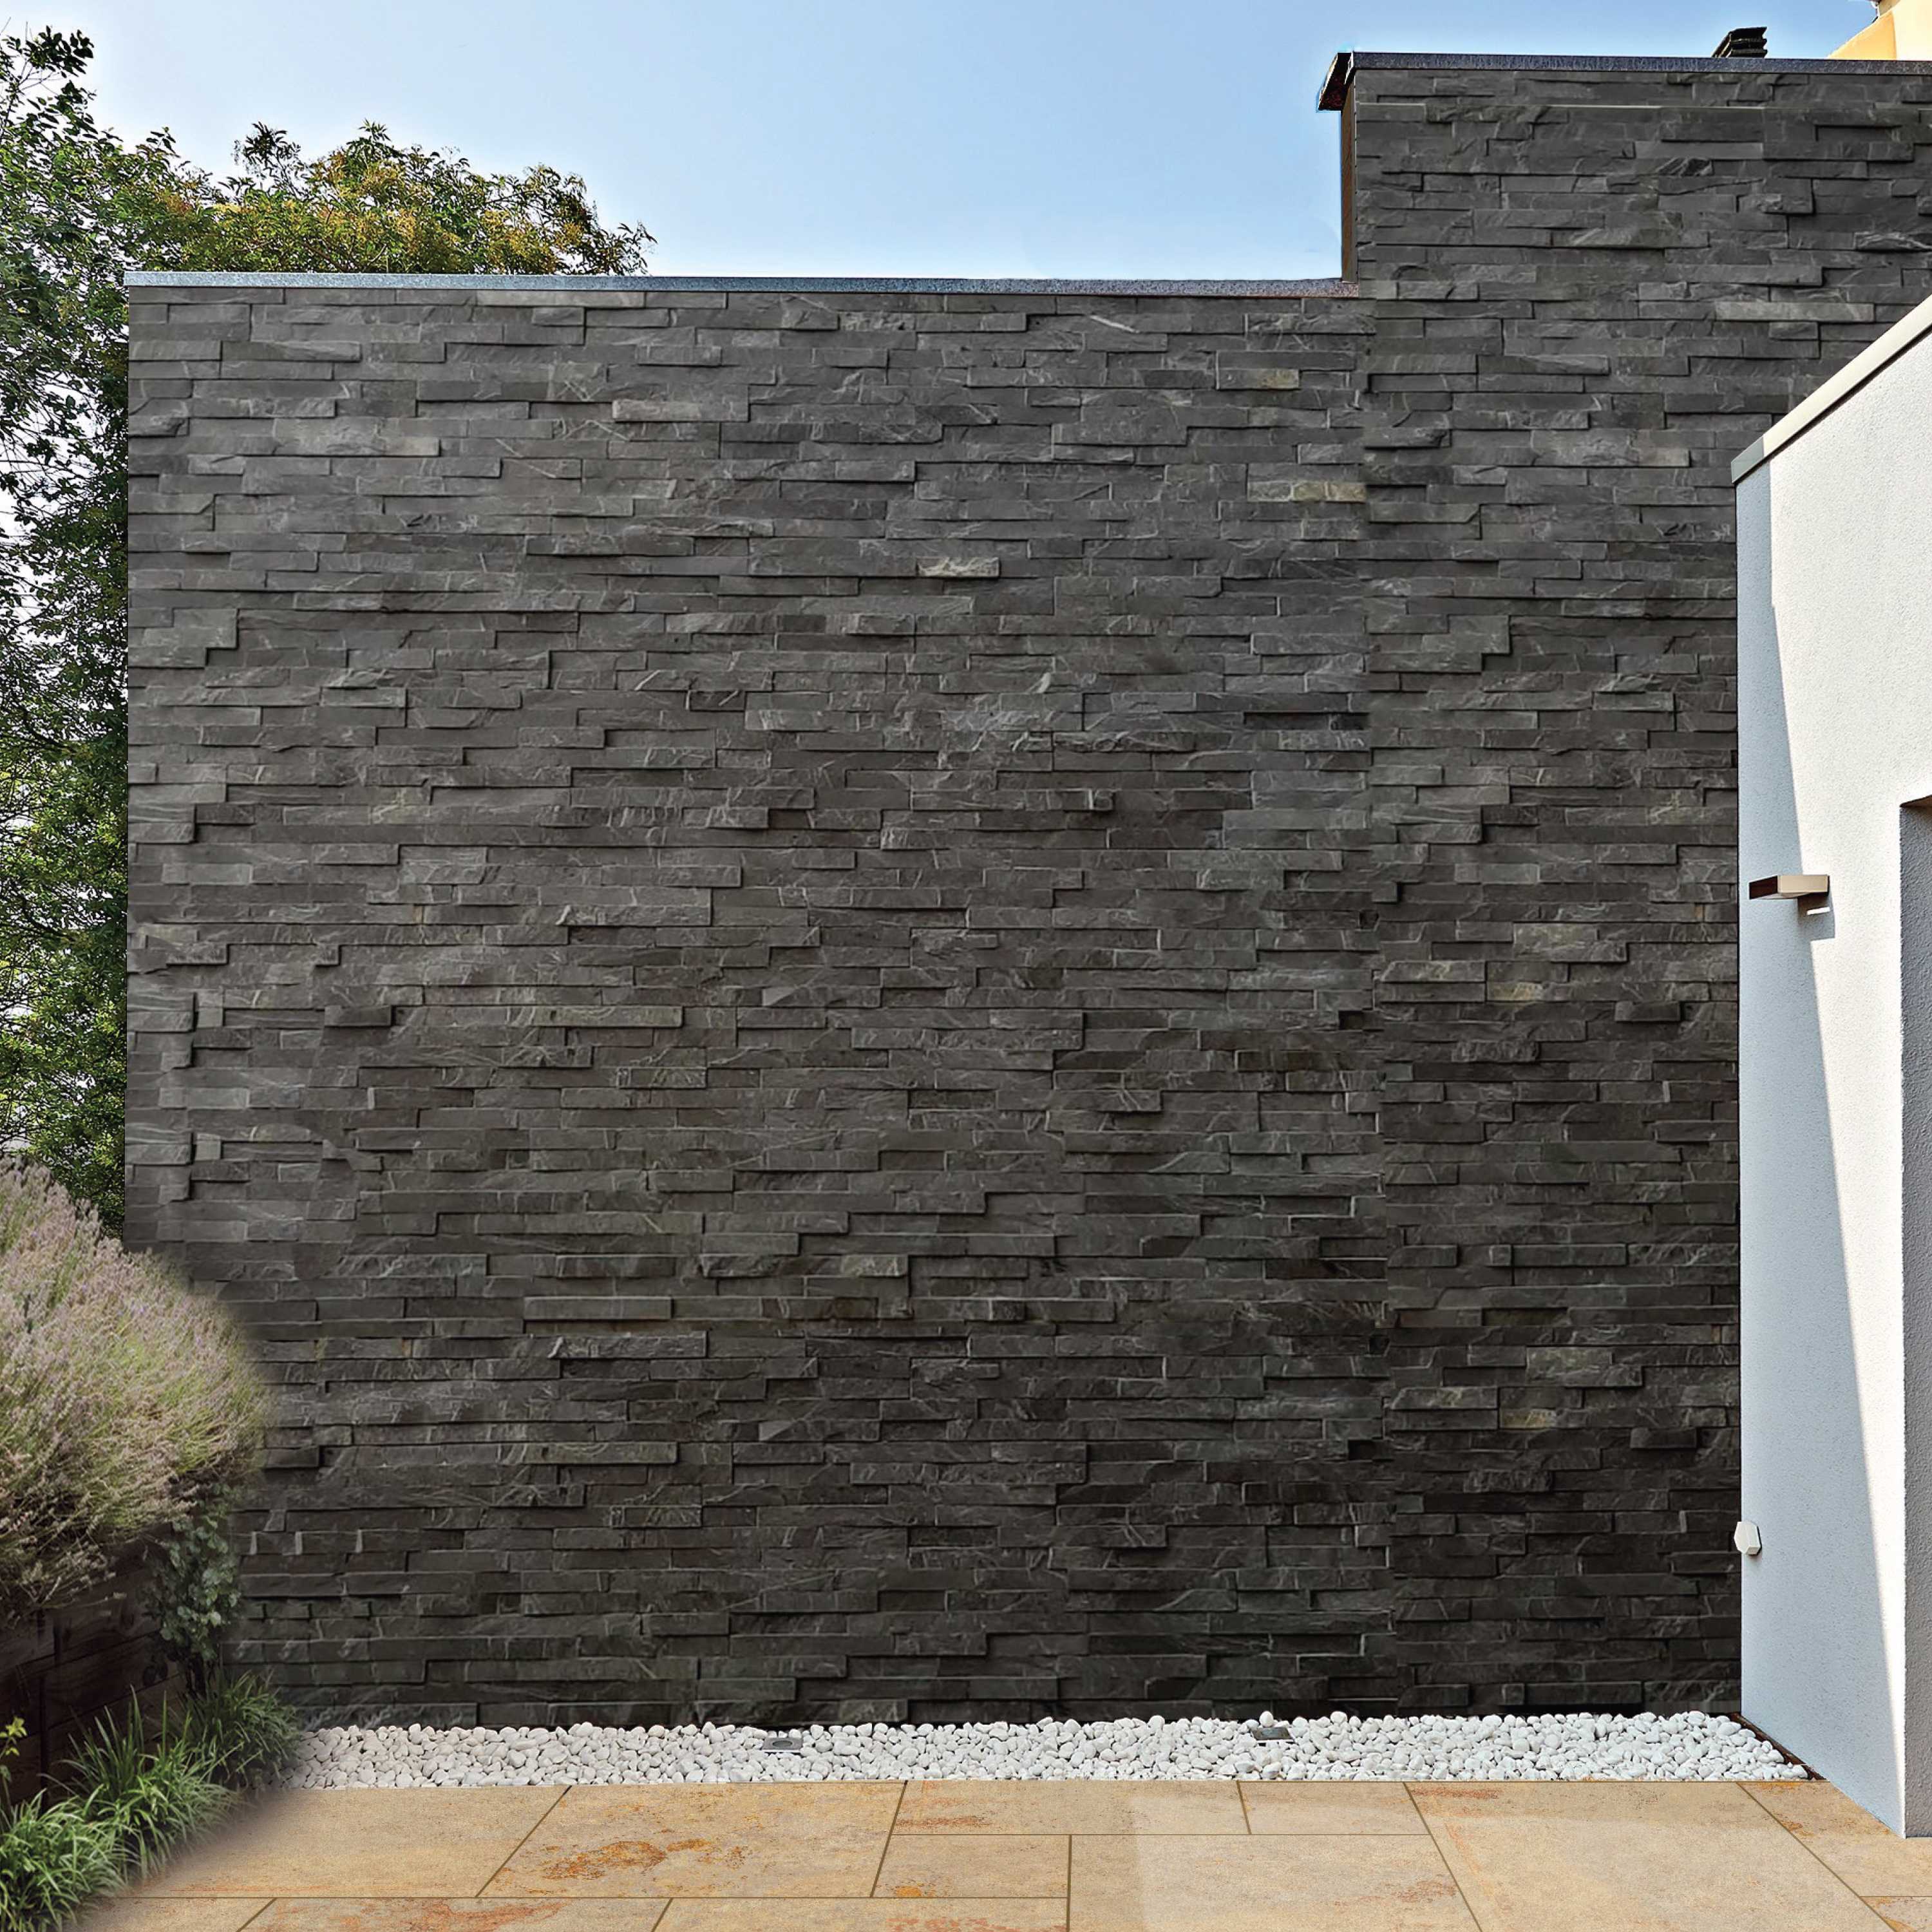
Our collection of steps / copings and hollowed step units are created to enhance the beauty of Digby Stone natural stone paving. The bullnosed step features a refined finish with a bullnosed edge and a shotblasted stippled surface effect, making it ideal for contemporary gardens. On the other hand, the hand-cut hollowed step unit is well-suited for traditional garden settings. These products are perfect for creating steps leading to a home, a terraced garden or any elevated area.
Natural Stone Steps / Copings features :
- Shotblasted finish, Sawn Edge and Bullnosed on one edge
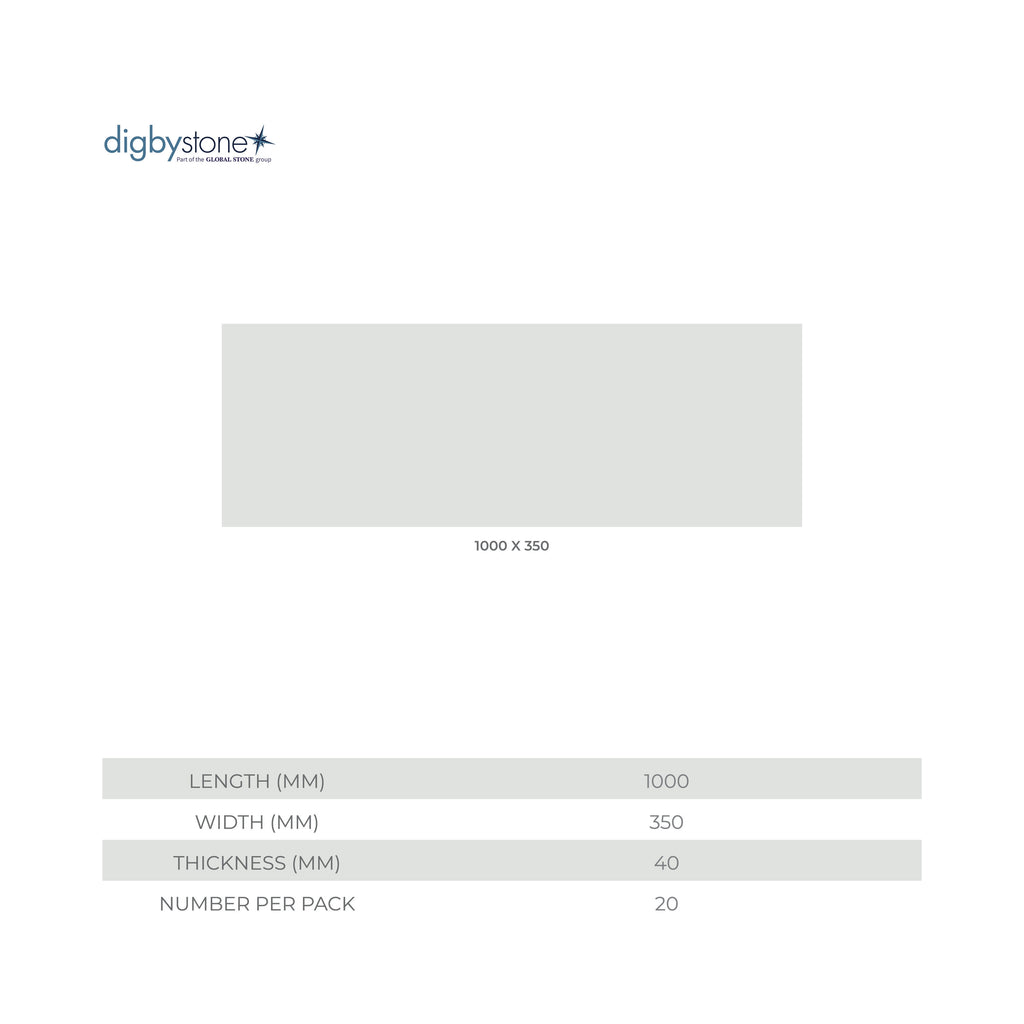
- Thickness of 40mm
- Joint Width of 10-15mm