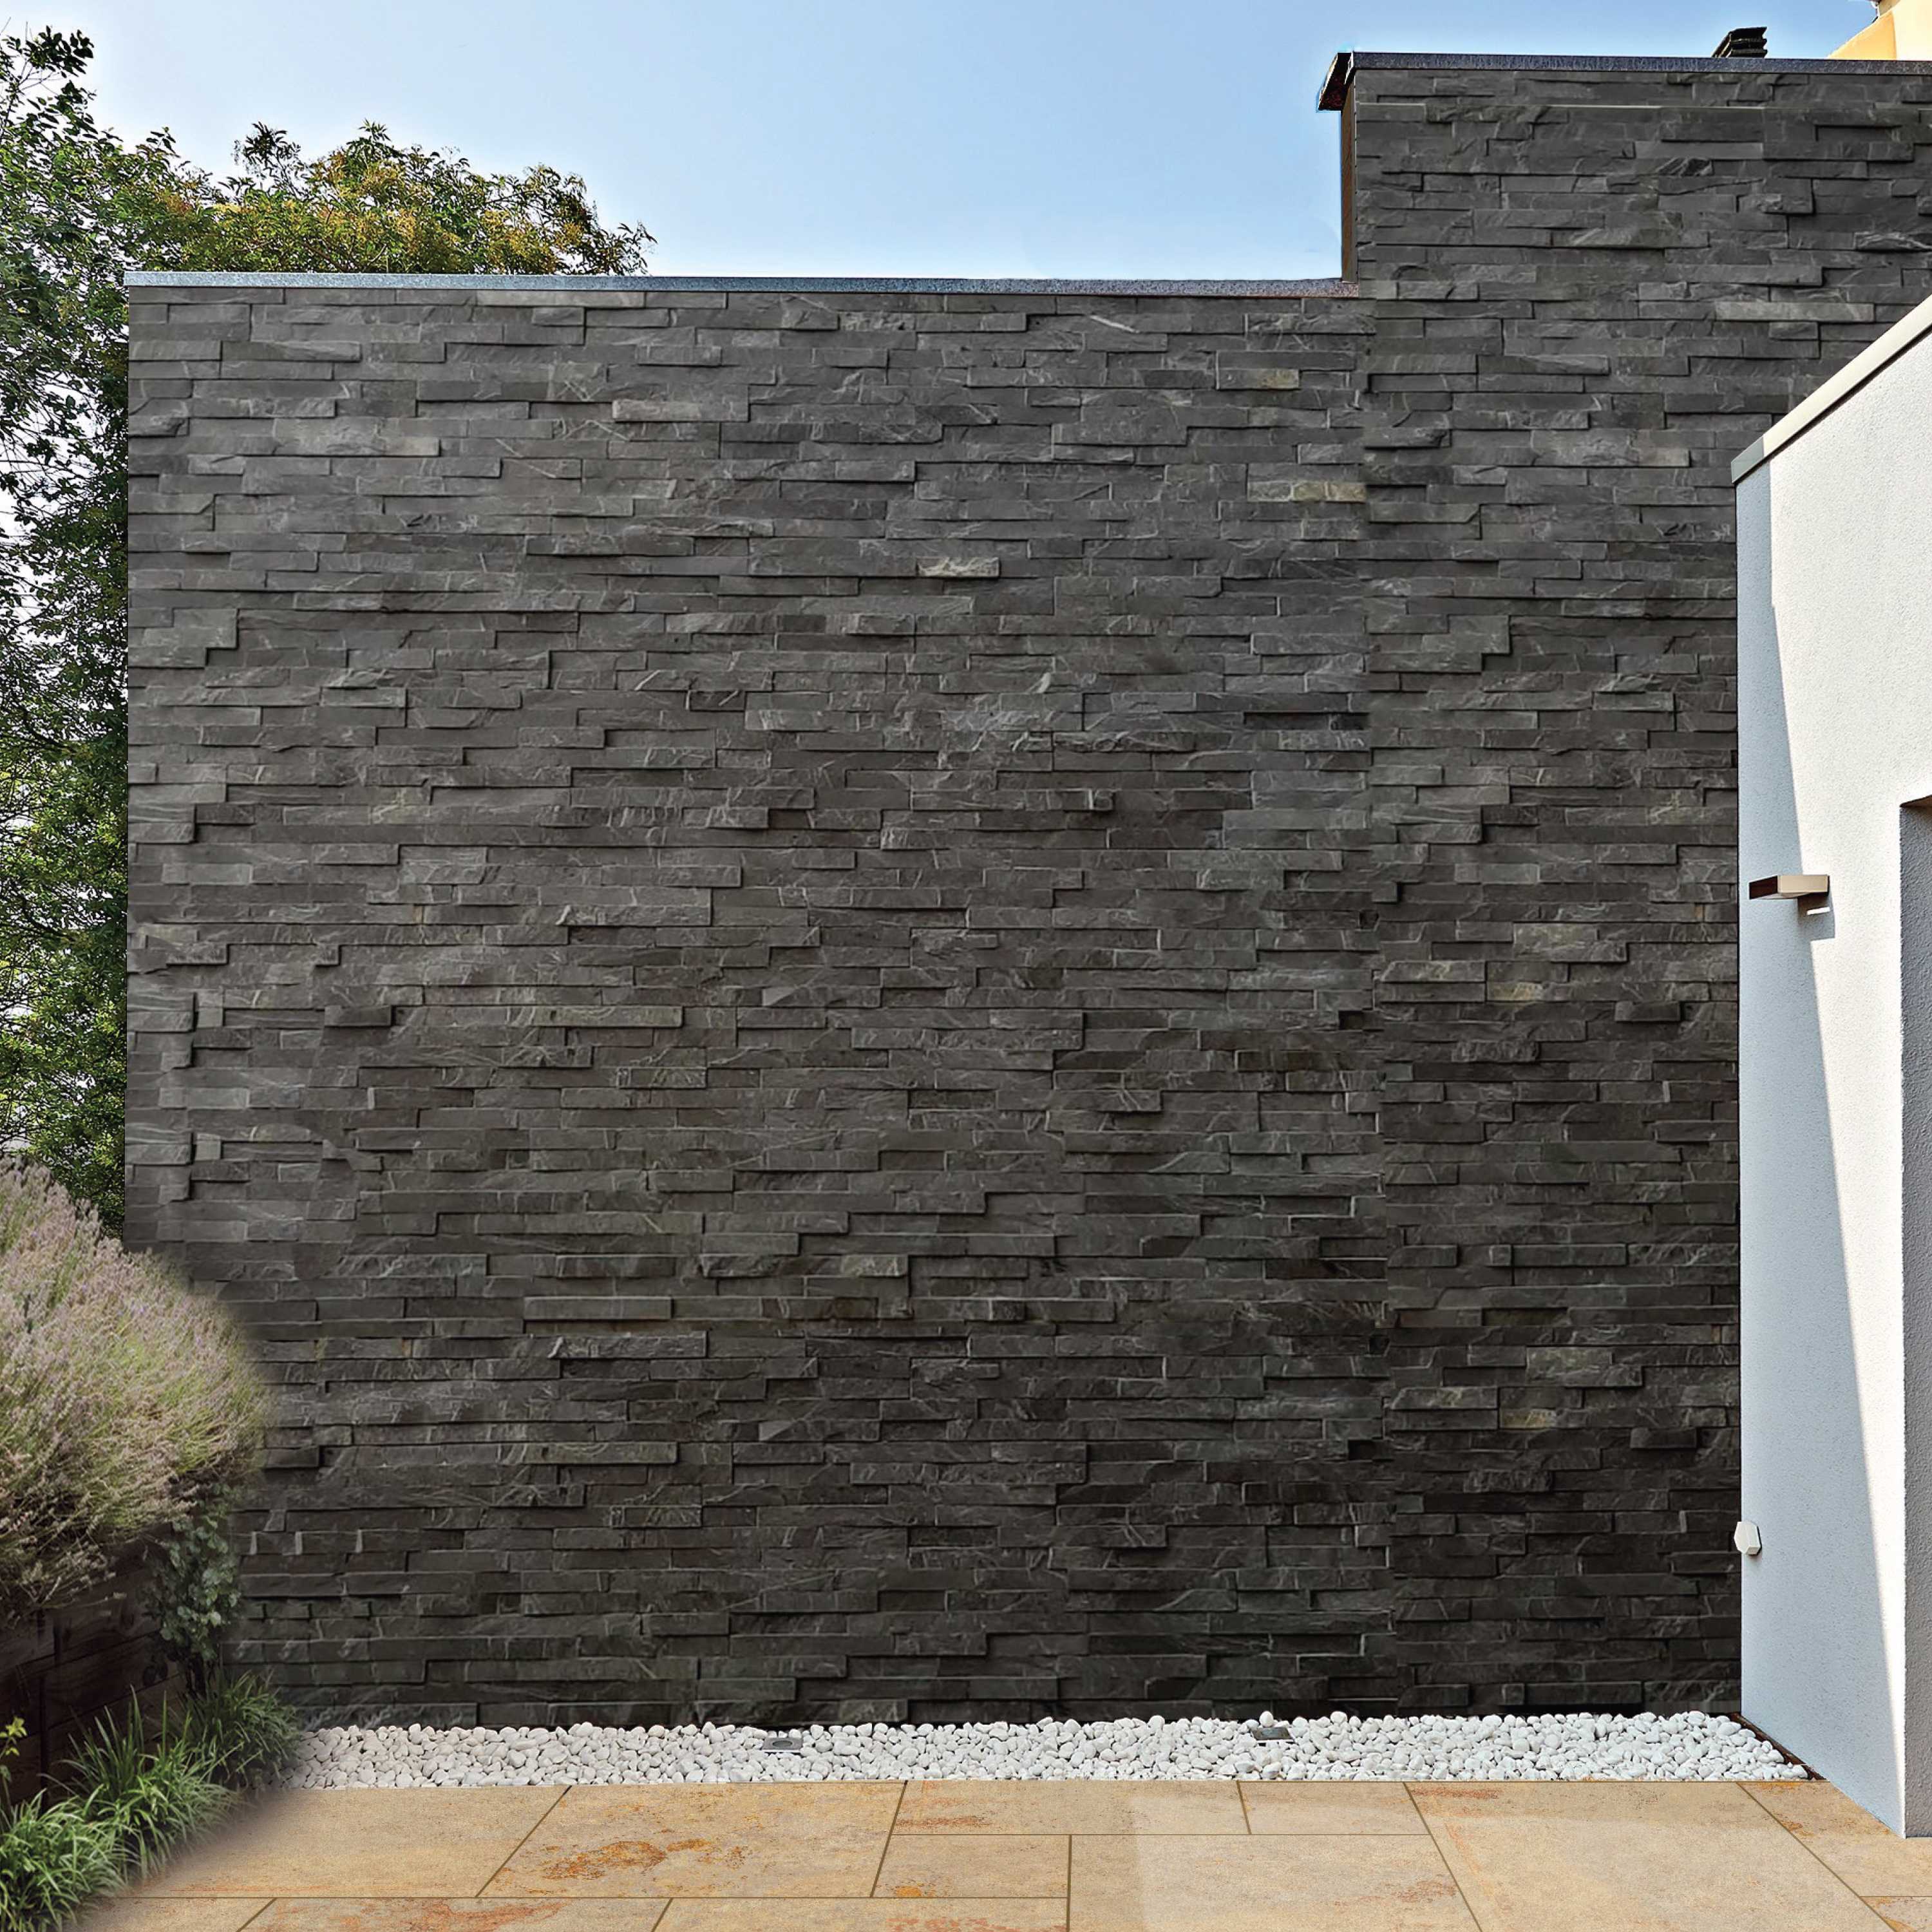
How to Lay Porcelain Tiles for Outdoor Space [7 Easy Steps]
Apr 13, 2023
Are you planning to revamp your outdoor space? Want to know how to lay porcelain tiles for outdoor areas?
Well, this is the place you are looking for. To make it easy for you, we’ve shared a step-by-step process of laying the porcelain tiles outdoors. From choosing the materials to the last step of laying the tiles, we’ve covered everything for you.
You’ll be able to quickly lay the porcelain tiles to your outdoors and add a wow factor to your space. So, here are the steps to easily make your home feel elegant and infuse charm through your floors.
But before moving forward with the steps, let’s first have a look at the list of tools and materials you need while laying the porcelain tiles.
Tools and Materials Needed
Here is the list of tools and materials you need while laying porcelain tiles for outdoor areas.
- Porcelain Tiles
- Rubber mallet
- Porcelain tile grout
- Tile spacers
- Porcelain tile primer
- Pointing trowel
- Bulk bags of sharp sand
- A shovel
- Wheelbarrow
- String line
- Bulk bag MOT type 1
- Spirit level
- General purpose cement
- Tape Measure
How to Lay Porcelain Tiles for Outdoor Space
Laying porcelain tiles is just as easy as laying slabs like natural stone. For a stylish makeover and to bring home the elegance of porcelain tiles, you must follow each step with utmost care. Once you are done installing these tiles, you’ll get a completely new look to your outdoors. So, here are the step-by-step instructions to install porcelain tiles for outdoor space.
Step 1 – Marking is Important
Before preparing your tiles or base mixture, you should mark out the area with string and posts where you want the porcelain tiles to be. Calculate the area, and according to that, purchase your porcelain tiles. You should buy some extra pieces if there are any damaged tiles.
Step 2 – Protect Your Porcelain Tiles
Porcelain tiles don’t need to be sealed as they are not porous. But for the safer side, apply a layer of tile protector, so the mortar and slurry do not get ingrained in the surface and make the cleaning post-installation a lot easier. You can use a foam roller to apply the coating to the surface of the tiles. But make sure you only coat the surface, not the edges, as this can weaken the grout bonding.
Step 3 – Prepare the Ground
Once you are done with the protective coating, start digging the ground where your porcelain tiles will be installed. Dig to a depth of around 160-200mm, and make sure to add a bit of slope to allow water drainage. Make sure to give the slope that will drain the water away from your home.
Step 4 – Prepare the Base for a Strong Foundation
You need to make a strong base mixture that guarantees the proper placement of porcelain tiles. As your outdoor area expects traffic the most, you must ensure they are correctly placed on a solid base.
First, fill the dug-out area with gravel and crushed rocks to a depth of around 100-15mm and spread it evenly. Use a spirit level or line level to check that your ground has enough slope. You should not forget to give a slope of 1:80 for water drainage. Once you are done, apply a mortar mixture of 4 parts sharp sand and 1 part cement to lay a strong foundation.
Step 5 – Apply Primer to Your Tiles
Apply a layer of primer to have a strong grip between the tiles and the mortar bed. Take a bucket full of clean water and add the slurry primer powder. Mix it well for up to five minutes to create a smooth and lump-free consistency. Apply this mixture to the underside of the tiles to make them stick properly with the mortar bed.
Step 6 – Installing Porcelain Tiles for Outdoor Space
Once you are done with the primer coating, start installing porcelain tiles for outdoor space. You should begin placing the porcelain tiles from the corner. Lay all the tiles, leaving a gap of around 4-5mm between each tile. Once you are done placing a tile, press it into place and adjust the level using a spirit level and rubber mallet. Don’t forget the water drainage.
Step 7 – Fill the Grout
Now give the finishing touches to your porcelain tiles for outdoor space. Infill the joints with grout for outdoor tiles specially designed for exterior use. Fill them evenly and use a pointing trowel to firm the grout into place.
Once you are done with the complete installation process of porcelain tiles for outdoor space, leave it for around 24 hours to allow it to dry. Avoid walking on the surface till it gets dried. Clean off the surface with a clean and wet cloth to have a shiny and new look to your outdoors.
Conclusion
You should follow these steps if you want to lay your porcelain tiles for outdoor areas perfectly. You can even hire a professional if you are unsure about your handwork.


![How to Lay Porcelain Tiles for Outdoor Space [7 Easy Steps]](http://digbystone.co.uk/cdn/shop/articles/Porcelain-Tiles-for-Outdoor-1030x858_{width}x.webp?v=1681385950)